


View the complete article here.
One of the most expensive exterior additions to your home is also one of the most labor-intensive, time-consuming, and potentially disastrous. At the same time, it’s also one that most people can do for themselves if they put in the effort to learn the steps and do it right. What is this Schrodinger’s cat of home construction? One that is both not a job for the faint of heart but also something you can accomplish without hiring a contractor if you’re willing to do it right?
A retaining wall.
Yes, a simple wall of heavy stone blocks that your local big box hardware store will load into your vehicle for you. Sounds like a Saturday afternoon of heavy lifting, right? Not exactly. There are a lot of factors that you have to take into consideration before attempting to DIY this kind of project, and this article will lay out that information for you so you can decide for yourself if this is a project for you and some of your friends, or something you want to leave to the pros.
What is a Retaining Wall?
The first thing you have to understand is the purpose of this wall and what it will do for your property. As the name says, this wall will retain the soil behind it in order to keep it from washing down or encroaching on the land below it. This kind of soil movement can be caused by heavy rains or wild swings in winter temperatures. If you live in an area with frequent hard freezes, for example, the moisture in the soil will expand and contract all winter long as it freezes and thaws; this can lead to that soil loosening up and shifting so that gravity naturally plops it in your backyard, driveway, or other low-lying space.
On the other hand, some retaining walls are simply design features that enhance the look of your outdoor area. Some homeowners deploy a wall like this to encircle the backyard, deck, firepit, seating area, or raised flower beds. The purpose of the wall is still to hold back any soil or sand the owner chooses to add later, but it’s not doing quite the same amount of heavy lifting that holding back a steep sloping yard will do.
It Might Come Down to Price
Whenever you’re considering a DIY project, the obvious question is, “How much will this cost, and will it be significantly cheaper for me to do it myself?” If you save yourself less than a thousand dollars but it takes you three months to complete a project that would have taken a contractor and their team a week, that starts to not be worth it.
Unfortunately, there are wild price differences in retaining walls due to a number of different factors:
Function
If this retaining wall is purely decorative, you can expect to pay a lot less than one that is going to keep an avalanche from burying your house. The more intensive the work and the more skill or certification required to meet building codes and insurance requirements, the more it can cost.
Location
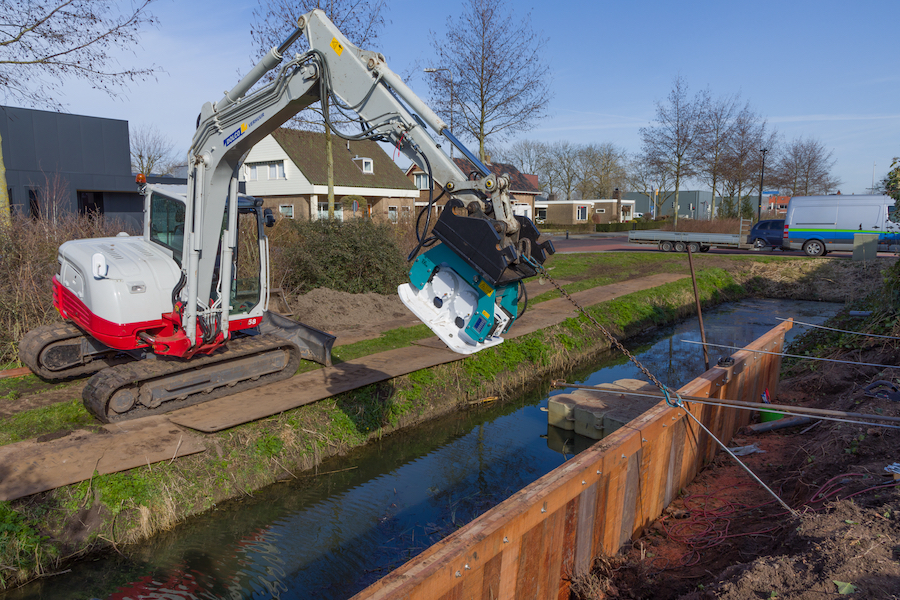
If this wall is going up on a fairly even plot of land or one that has already been landscaped, there’s a lot less labor involved. As you’ll see below, however, some properties will need excavators and leveling machinery to even prepare the ground for building. Once you have to rent heavy equipment or hire an operator to use it, you might discover that you’re not saving that much money by tackling it yourself.
Style
Whether it’s a design feature or a purely functional retaining wall, you want it to look good and match the aesthetic of your property. That means you can end up with more expensive materials in order to match your home and current landscaping. One homeowner we talked to spent nearly $40,000 on a necessary retaining wall, simply because it had to hold back a four-story hillside and match his new construction. He ended up hiring a contractor to build a basic concrete block retaining wall for function, then essentially building a second wall as a façade in front of that to match his house.
Size
The final consideration will be the sheer size of this wall. How high does it need to be? How far does it need to extend? Will it have any curves or sharp angles to navigate? All in all, the average price for a retaining wall—whether you do it yourself or hire a pro—will be a range of $19 to $50 per square foot.
That’s a huge difference in the price of the final project, so you just might want to tackle this yourself. How? Read on.
Prepare Your Property
So, you’re going to build a retaining wall… great! The first thing you’ll have to do is map out where it’s going, decide how high it will be, and mark off your ground in order to get it ready. From there, it’s time to follow some important steps.
Select Your Material
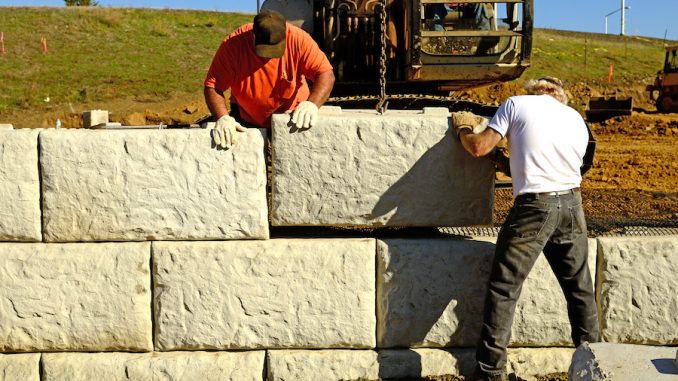
You’re going to need to spend some time considering your material options. There are different kinds of block you can choose from, not just in appearance but in how they actually stack. Some blocks are suited for small projects and are easy to place on top of each other. Others are designed for the heavy work of holding back a sloping hillside, so they use a pin system to help secure them on top of each other. A good in-between option is blocks that have a small lip at the lower back edge. This keeps them from shifting as readily under the weight of the soil they’re holding back.
One way to save money on your project without cutting corners is to use a compatible but less visually appealing block for your first course. This only works if you have to dig the first row all the way down into your trench (more on that below). An ugly gray, angular block is fine as your base layer if it won’t be seen once the project is completed.
Digging Your Trench
You’ll need to dig a trench for your retaining wall to serve as the base. This trench needs to be twice as wide as the blocks you’re using for the wall. After you’ve called your local utility companies to ensure that it’s safe to dig (they’ll actually come out and spray paint the placement of your underground cables or pipes), use an excavator or a good old-fashioned shovel and some elbow grease to create the trench. For a functional wall, you need to dig the entire first course (or first row) of your wall into the ground. For something decorative like a raised bed or firepit, you can get by with digging in only half the height of your first course of blocks.
Leveling the Ground
Once your trench is dug, you have to level it. Again, the difference in technique depends on the purpose of the wall. For a small aesthetic wall, it’s enough to tamp down the ground with your feet, a sheet of old plywood that you place down and stomp on (get the kids to help!), or a handheld compacting tool. For more intensive builds, you can rent a vibrating plate compactor to evenly press down the soil. This step often gets overlooked by DIY builders, and they regret it later when their walls start to sink and shift over time.
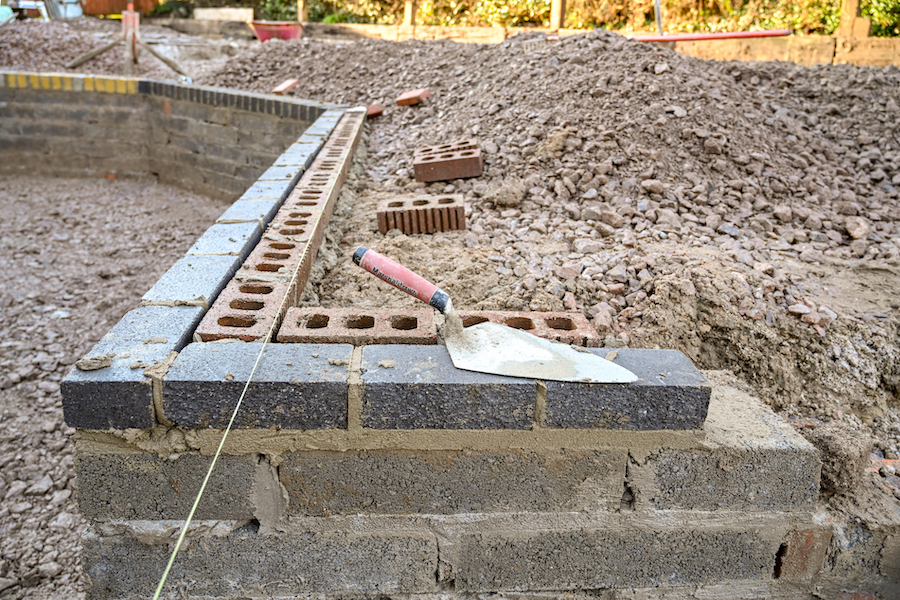
Putting in a Foundation Layer
You can usually get by with skipping this step if you’re doing something as simple as a raised flower bed or decorative feature around your shrubs, but for anything more involved than that, you really need a base layer before you start adding your blocks. For something like a fire pit, you can use sand to help your blocks find their level position. But if you’re building a functional wall that will need to fight the effects of weather, water, and gravity, a stone layer is a much better idea.
Don’t make this simple mistake: expert builders recommend crushed stone instead of gravel. Why? Naturally formed gravel will have smoother angles and will be more likely to shift as water and soil work their way around your wall. Crushed stone has a more jagged shape and will therefore tend to press together like puzzle pieces under the weight of both your block and the natural elements.
Getting Started
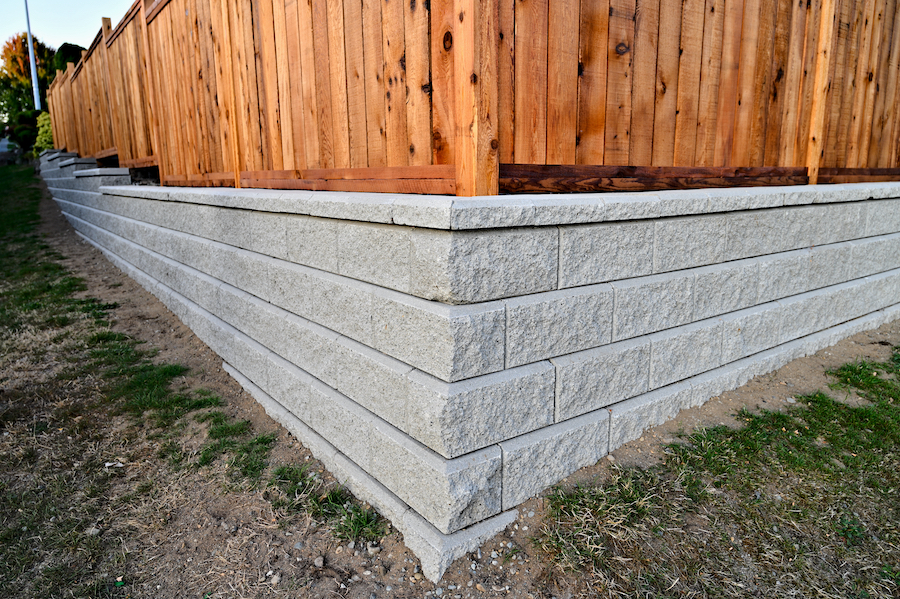
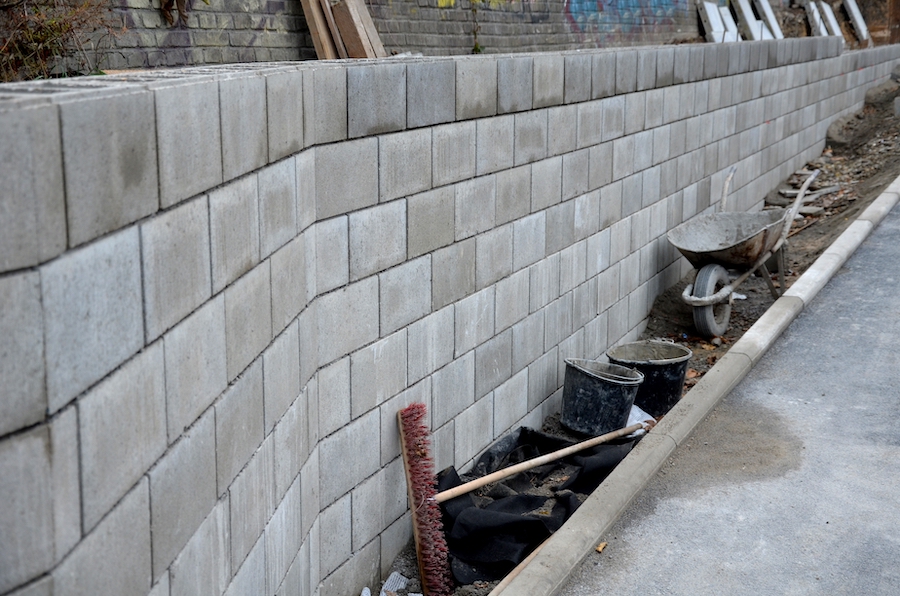
Believe it or not, preparing your property for this wall wasn’t the hard part. It does look like these blocks should go together like toy bricks, but that’s not the case. There are many different visual styles you can choose from, such as alternating brick “Lego” style or asymmetrical varying sizes of block that give your wall an eye-catching, interesting look. Depending on the type of block you use, you may also need a capstone layer of slightly thinner, flatter blocks that finish off the top of the wall.
Here are some important things to keep in mind once you start to build:
Keep it Level
As you begin your first course of blocks, the most important thing you can do it to make absolutely sure that it’s level. Use at least a four-foot level (if not longer) so you can gauge the angle across multiple blocks. It’s also important that you keep a sturdy brush on hand at all times and brush the top of each block before placing another one on top. Even something as small as a pebble or a clump of sand can have serious consequences. With even one block slightly out of alignment, the problem will get more and more noticeable with every additional layer.
Take Your Time
Sure, the pros may stack these blocks in an afternoon, but that’s because they have years of experience and a system they’ve come up with. The last thing you want to do is lift all of these blocks several times, meaning that you built it and had to take it down because of a mistake in the second or third row. Spend plenty of time measuring, leveling, and brushing your layers between rows to ensure that this wall lasts for years to come.
Backfill Your Completed Wall
Just getting those blocks in place and the final capstones on top aren’t enough. You’re not done. You need more crushed stone in order to backfill the entire wall and help it stay in position. Experts recommend using this stone all the way up to no less than ten inches from the top of your wall, then covering it with topsoil and grass or sod. Again, you can skimp slightly on this step if your wall is more decorative than functional, but don’t ignore the purpose of it.
Things to Consider
Remember, there’s a reason that professional hardscapers build retaining walls and other features for a living. If your project requires drainage or works around underground utilities, for example, talk to a pro about ways they can be hired for at least part of the project if that’s outside your scope of ability. Also, if your retaining wall will need to be higher than four feet, many places require building permits. Finally, as mentioned above, sometimes the cost of the project—in money, labor, and time—can mean it might be more than you can handle on your own. Plan accordingly before deciding how you’ll make this happen.
View the complete article here.
What is the average cost of building a retaining wall, and how does it vary based on factors like function, location, style, and size?
The cost of building a retaining wall can vary widely, ranging from $19 to $50 per square foot, influenced by factors such as its function (decorative or functional), location, style, and size.
What are the essential steps in DIY retaining wall construction, from property preparation and material selection to digging trenches and backfilling?
The key steps include mapping the wall's location, selecting appropriate materials, digging a trench, leveling the ground, adding a foundation layer, and focusing on precision and leveling during block stacking; the completed wall should be backfilled with crushed stone for stability.