


View the complete article here
Concrete forms define and control poured concrete used for structures such as patios and slab foundations. They are typically made of wood or metal – although there are other materials available for concrete forms. How you build concrete forms matters since they must support hundreds, and often thousands, of pounds of concrete. In this article we discuss everything you need to know about concrete forms.
Concrete Forms Defined
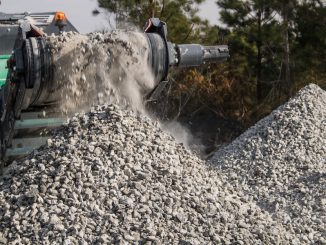
A concrete form in simplest terms is a frame. The frame is built from a material strong enough to hold concrete while it is curing. Concrete is heavy – it weighs about 150 pounds per square foot.
Concrete Forms Materials
Concrete forms are most often made of wood. Metal forms are also an option. Other materials available for concrete forms include plastic, resin, and fiberglass. These materials do not have the proven track record of wood and metal. They are also more expensive. Although this may change over time as builders find more uses for them.
Applications for Concrete Forms
There are several applications for concrete forms, including:
- Concrete Countertops
- Insulated Concrete Forms (ICFs)
- Patios and Decks
- Precast Concrete Products (Planters, Benches, etc.)
- Retaining Walls
- Slab Foundations
- Statues
Building Concrete Forms
Let’s go over the basic steps for properly building concrete forms. Since wood is widely used, let’s use building a patio as an example of building concrete forms.
Tools
You’ll need the following tools:
- Circular saw
- Hammer
- Level
- Pry bar
- Tape measure
Materials
You’ll need the following materials for your patio project:
- 6-mil plastic
- Anchor bolts
- Concrete
- Curing compound
- Duplex nails
- Half-inch diameter rebar
- Lumber
- Packable fill
- Tie wire
Construction Steps
#1 Permits, HOA, and Utilities
Permit
Call your local building department to determine whether you need a permit. Be prepared to provide details about the patio such as how far it is from the lot line, how big it is, what materials you are using, etc. If a permit is required, you will likely need to complete an application and pay a fee.
HOA
If the property is located in an HOA community, you may need to submit plans to the homeowners association’s architectural committee for approval before you begin work.
Utilities
The last thing you want to do is accidentally damage a buried utility pipe or wires. Call 811 and request that the local utility companies find and flag any buried wires and pipes before you start digging.

#2 Prepare the Site
Stakes
Drive four wooden stakes at each corner of the area where the patio will be built. Then connect the stakes with mason’s string. This will roughly lay out the area for the forms.
Depth
You need to determine the size boards you will need. This is based on how deep the concrete will be and how much fill will be underneath the concrete. For example, most patios are 4 inches deep. Add the depth of the fill (after tamping) to calculate the total depth required for the form.
Soil
You need well-drained soil under the concrete to increase the life of the patio.
Sandy soil: Remove the sod, if any, and the topsoil. You may need to add some gravel fill.
Clay or loam soil: Remove enough soil to accommodate a six to eight inch layer of compacted gravel underneath the patio. An excavator will make this easier. Either rent a skid loader or hire someone to do this part.
#3 Slope
You must slightly slope the patio to keep water from pooling on it. The slope should face away from any structures, so water doesn’t sit against them. Over time this negatively impacts the integrity of the structure. The slope should be between 1/8 and 3/8 of an inch per foot. Dryer climates need less slope, typically 1/8 inch per foot, than areas that have a lot of rain or snow. However, stamped concrete – even in dry climates – need more slope so the water drains out of the decorative indentations. In this case, 1/4 inch per foot is needed.
Calculating Slope
Measure from the side that is closest to the structure to the opposite side. Divide it by the slope. So, a 10 foot patio with a 1/4 inch slope is 10 x .25. This equals 2.5 inches. So, the side of the form opposite from the structure must be 2.5 inches lower. This is sloped enough to drain the water, but not so low that it is visible to the naked eye. In other words, the patio will appear flat.
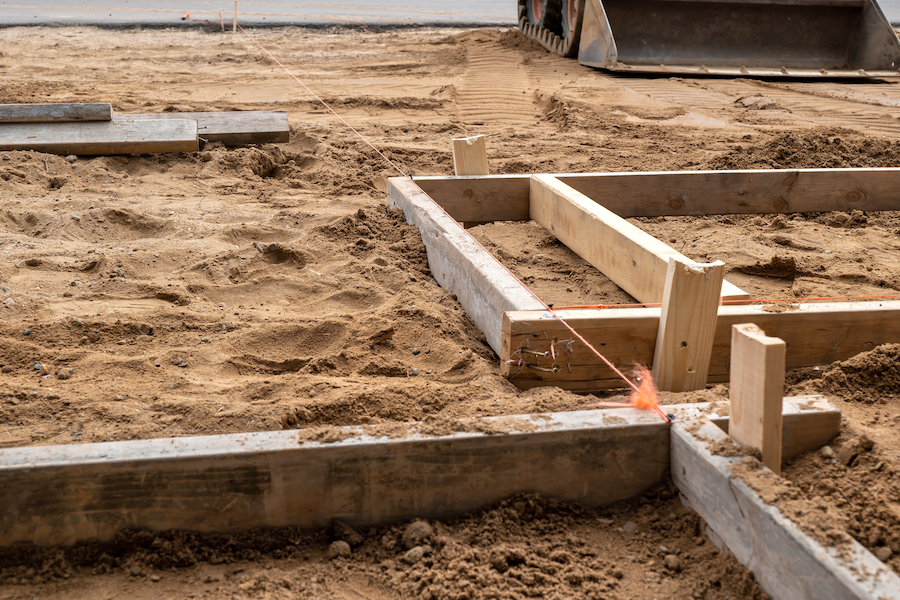
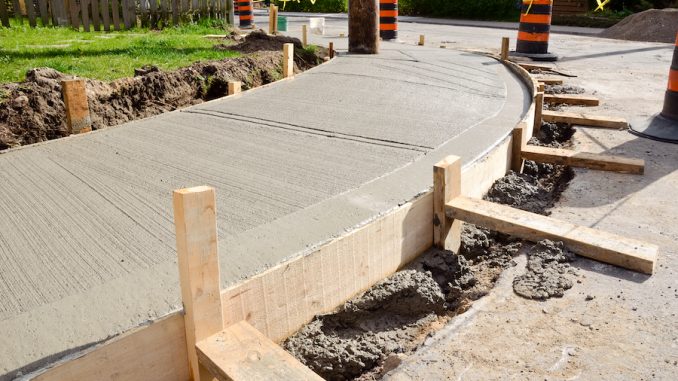
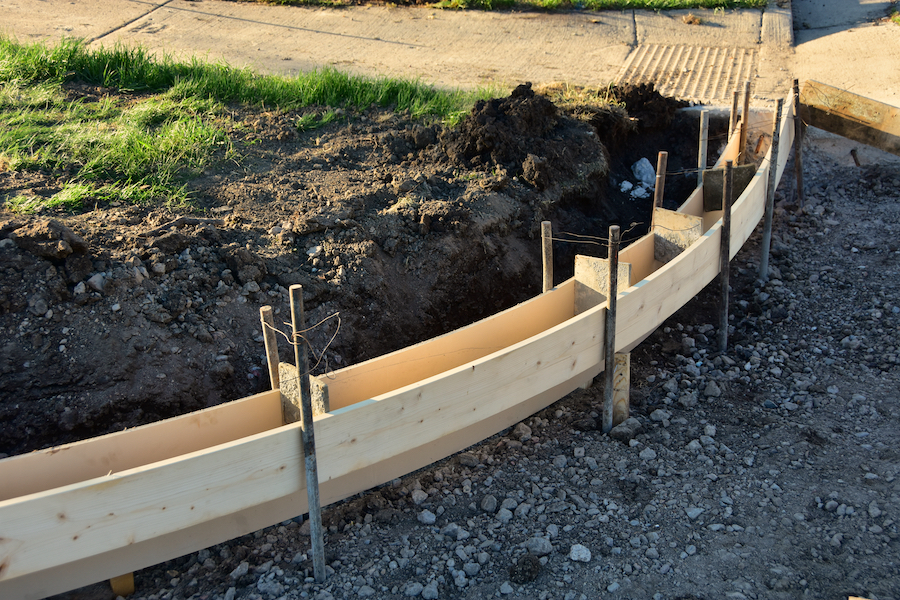
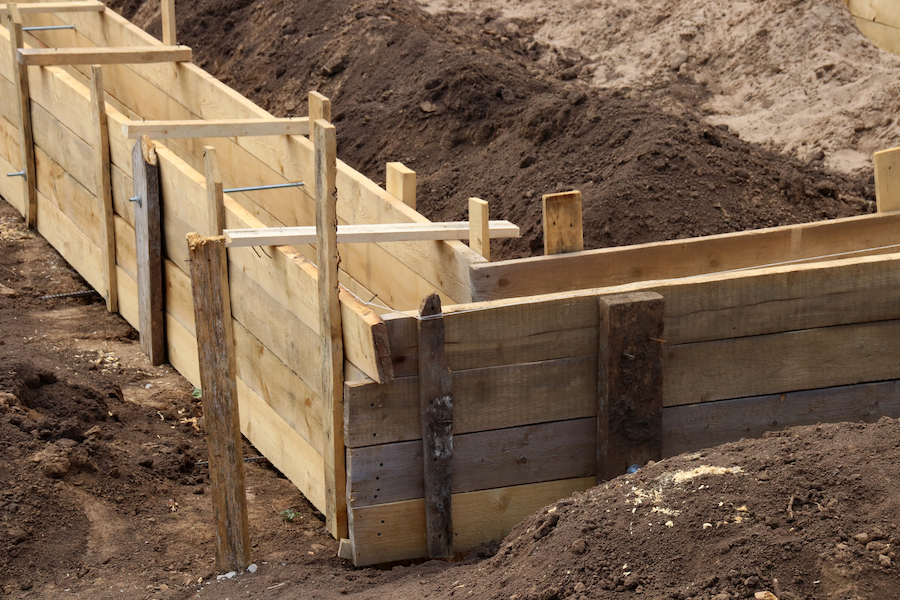
#4 Stake and Brace the Side Forms
Cut a piece of lumber long enough to connect two of the stakes to create the first side of the form. Nail it to a corner stake. Level it, then nail it to the second corner stake. Do this for the other sides of the forms. Stretch a mason’s string along the top of the lumber on the long side. Align the lumber with the string.
Brace the Forms
Every two feet, place 2×4 stakes and 2×4 kickers (slanted down into the ground) along the form boards. This bracing will keep the boards in place as the concrete cures. Remember that the whole point of concrete forms is to hold and shape the cement. If you don’t brace the forms and the cement pushes them out, you’ll end up with a misshapen patio. Which could be cool. But probably not.
#5 Square Your Forms
There are two ways to ensure that each corner of your concrete form is at a 90-degree angle:
Diagonal method. Measure diagonally across from one corner of the form to its opposite corner. Then measure the other two corners diagonally. The two measurements should match.
3-4-5 method. Starting at one corner, measure out 3 feet and mark it. Now measure out from that same corner out to the other side of the form 4 feet and mark it. Finally, measure between the two marks. It should equal 5 feet.
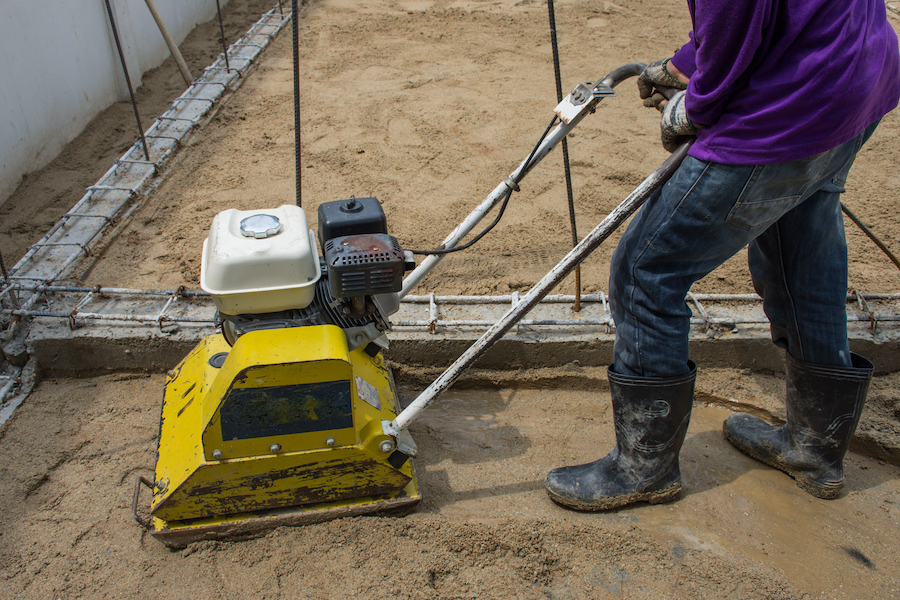
#6 Fill and Pack
Spread the required amount of fill you previously calculated in step #2 into the forms and tamp it down. To create a thickened edge of concrete, slope the down along the edges of the concrete form. Now pack the fill with a plate compactor. You’ll need to leave a trench that is a foot wide by a foot deep around the interior perimeter of the concrete form for the thickened edge.

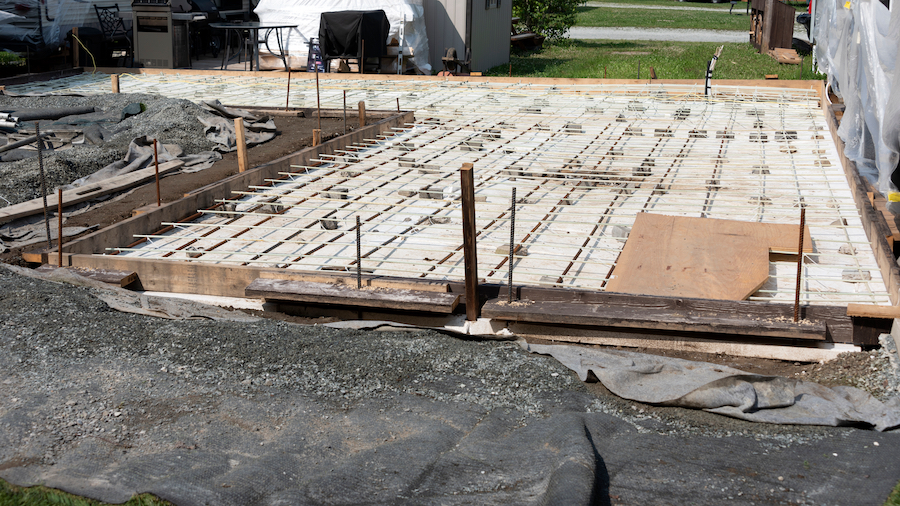
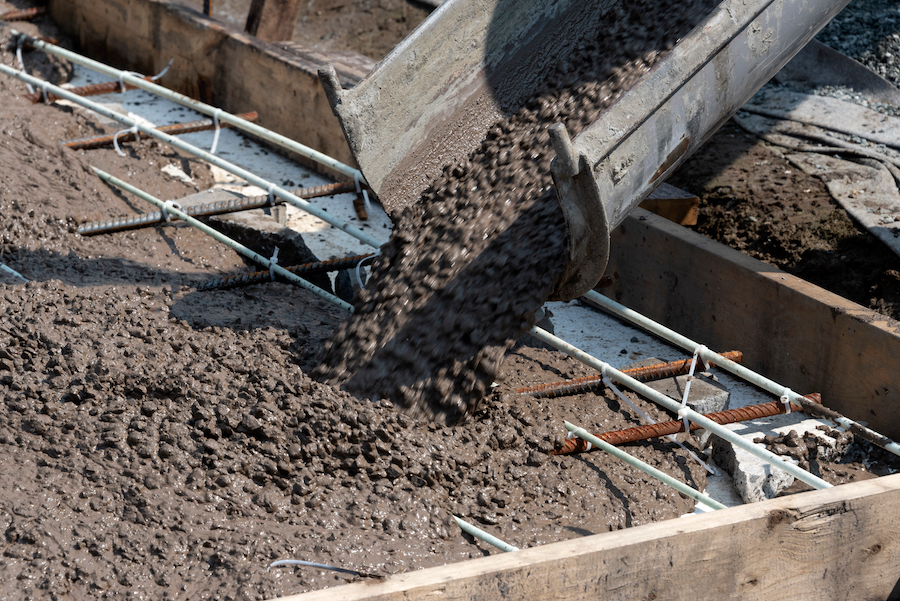
#7 Rebar
Place one layer of 6-mm plastic sheeting over the fill. You will now tie two bands of half-inch rebar (steel reinforcing rods) to stakes that are placed about four inches from the concrete form’s perimeter. You’ll need to cut the rebar with a reciprocating saw fitted with a metal cutting disc. You can also use a circular saw or grinder. Cut and bend the rebar to reinforce the perimeter. Now tie the perimeter rebar to the rebar stakes.

#8 Partition the Slab
If your patio is going to be large, say 30 feet wide, you’ll want to partition the slab so you can do the concrete pour in sections. Otherwise one side is drying before you can finish the pour. Do this by using a grid of rebar laid over the plastic cover. Space them four feet apar. Use tie wire to connect the intersections. Using a piece of 2×4 lumber nailed to 1×3 foot stakes to divide the slab straight down the middle. Use mason’s string to align the top edge. Be sure the string is taut.
#9 Order Concrete
You’ll calculate the number of cubic feet of concrete needed as follows:
Length x width x depth (in feet) divided by 27. It’s a good idea to add 5% to the final number to ensure you have enough concrete to finish the job.
Our recommendation is that you have the concrete delivered rather than mix it yourself. However, if you insist, please read our article, Guide to Concrete Mixing and Pouring Methods.
Conclusion
Concrete forms provide uniformity and strength to concrete – whether for sidewalks, decks, or patios. It is a time-consuming process that requires patience and attention to detail. Although concrete appears harmless, it can cause great damage to your skin and eyes. Be sure to wear the proper PPE before you begin working with cement. Mastering concrete forms can save you a lot of money in the long run. Who knows? You may turn it into a million dollar construction business.
View the complete article here
What materials are commonly used for constructing concrete forms?
Concrete forms are primarily made of wood or metal, with additional options including plastic, resin, and fiberglass; however, wood and metal have a proven track record.
What steps are involved in building concrete forms for a patio, and what tools are required?
Building concrete forms for a patio involves obtaining permits, preparing the site, creating a slope, staking and bracing, ensuring square angles, filling and packing, incorporating rebar, partitioning the slab for large projects, and ordering concrete; essential tools include a circular saw, hammer, level, pry bar, and tape measure.